

harbor镜像仓库搭建&使用教程
1、安装docker
#安装docker镜像源
cat > /etc/yum.repos.d/docker-ce.repo << EOF
[docker-ce-stable]
name=Docker CE Stable - \$basearch
baseurl=https://mirrors.aliyun.com/docker-ce/linux/centos/\$releasever/\$basearch/stable
enabled=1
gpgcheck=1
gpgkey=https://mirrors.aliyun.com/docker-ce/linux/centos/gpg

[docker-ce-stable-debuginfo]
name=Docker CE Stable - Debuginfo \$basearch
baseurl=https://mirrors.aliyun.com/docker-ce/linux/centos/\$releasever/debug-\$basearch/stable
enabled=0
gpgcheck=1
gpgkey=https://mirrors.aliyun.com/docker-ce/linux/centos/gpg

[docker-ce-stable-source]
name=Docker CE Stable - Sources
baseurl=https://mirrors.aliyun.com/docker-ce/linux/centos/\$releasever/source/stable
enabled=0
gpgcheck=1
gpgkey=https://mirrors.aliyun.com/docker-ce/linux/centos/gpg

[docker-ce-test]
name=Docker CE Test - \$basearch
baseurl=https://mirrors.aliyun.com/docker-ce/linux/centos/\$releasever/\$basearch/test
enabled=0
gpgcheck=1
gpgkey=https://mirrors.aliyun.com/docker-ce/linux/centos/gpg

[docker-ce-test-debuginfo]
name=Docker CE Test - Debuginfo \$basearch
baseurl=https://mirrors.aliyun.com/docker-ce/linux/centos/\$releasever/debug-\$basearch/test
enabled=0
gpgcheck=1
gpgkey=https://mirrors.aliyun.com/docker-ce/linux/centos/gpg

[docker-ce-test-source]
name=Docker CE Test - Sources
baseurl=https://mirrors.aliyun.com/docker-ce/linux/centos/\$releasever/source/test
enabled=0
gpgcheck=1
gpgkey=https://mirrors.aliyun.com/docker-ce/linux/centos/gpg

[docker-ce-nightly]
name=Docker CE Nightly - \$basearch
baseurl=https://mirrors.aliyun.com/docker-ce/linux/centos/\$releasever/\$basearch/nightly
enabled=0
gpgcheck=1
gpgkey=https://mirrors.aliyun.com/docker-ce/linux/centos/gpg

[docker-ce-nightly-debuginfo]
name=Docker CE Nightly - Debuginfo \$basearch
baseurl=https://mirrors.aliyun.com/docker-ce/linux/centos/\$releasever/debug-\$basearch/nightly
enabled=0
gpgcheck=1
gpgkey=https://mirrors.aliyun.com/docker-ce/linux/centos/gpg

[docker-ce-nightly-source]
name=Docker CE Nightly - Sources
baseurl=https://mirrors.aliyun.com/docker-ce/linux/centos/\$releasever/source/nightly
enabled=0
gpgcheck=1
gpgkey=https://mirrors.aliyun.com/docker-ce/linux/centos/gp
EOF

#更新缓存
yum makecache

#安装docker,如示例26.1.4版本,不带后缀默认安装最新版本,如有内网仓库源,直接执行这一步
yum install -y docker-ce-26.1.4

#设置开机启动
systemctl enable docker && systemctl start docker
2、安装harbor
2.1 下载部署包
#部署harbor前先安装好docker-compose
curl -L https://github.com/docker/compose/releases/download/1.21.1/docker-compose-`uname -s`-`uname -m` -o /usr/local/bin/docker-compose

#给docker-compose授予执行权限
chmod +x /usr/local/bin/docker-compose

#验证
docker-compose -v

#下载harbor的自动部署脚本
wget http://harbor.orientsoft.cn/harbor-1.2.2/harbor-offline-installer-v1.2.2.tgz

#解压
tar -xf harbor-offline-installer-v1.2.2.tgz -C /usr/local && cd /usr/local/harbor

cp harbor.yml.tmpl harbor.yml
2.2 编辑部署变量文件harbor.yml
#主要改以下的配置,可自行修改,不固定

#hostname
hostname: 172.16.10.137

#http协议端口
http:
  port: 80

#https协议以及证书路径
https:
  port: 443
  certificate: /usr/local/harbor/cert/harbor.crt
  private_key: /usr/local/harbor/cert/harbor.key

#登录密码
harbor_admin_password: Harbor12345

#数据库密码
database:
  password: root123

#数据挂载路径
data_volume: /usr/local/harbor/data
2.3 自签harbor证书
#新建一个ssl证书的openssl.cnf文件
cd /usr/local/harbor/cert/
#编辑
cat openssl.cnf

[ req ]
distinguished_name = req_distinguished_name
req_extensions = v3_req

[ req_distinguished_name ]
# These fields can be left empty
countryName = Country Name (2 letter code)
countryName_default = US
stateOrProvinceName = State or Province Name (full name)
stateOrProvinceName_default = California
localityName = Locality Name (eg, city)
localityName_default = Los Angeles
organizationalName = Organization Name (eg, company)
organizationalName_default = MyOrg
commonName = Common Name (e.g. server FQDN or YOUR name)
commonName_default = harbor.test.com

[ v3_req ]
# The extensions to add to a certificate request
subjectAltName = @alt_names

[ alt_names ]
IP.1 = 172.16.10.137
IP.2 = 172.16.10.136
IP.3 = 172.16.10.138
IP.4 = 172.16.10.139
DNS.1 = harbor.test.com
#生成证书
openssl req -new -newkey rsa:2048 -days 3650 -nodes -keyout harbor.key -out harbor.csr -config openssl.cnf

openssl x509 -req -in harbor.csr -signkey harbor.key -out harbor.crt -extensions v3_req -extfile openssl.cnf


#生成证书的目录详情
[root@k8s-master2 cert]# ls
harbor.crt  harbor.csr  harbor.key  openssl.cnf
2.4 执行部署脚本
#耐心等待安装即可
cd /usr/local/harbor/ && sh install.sh
3、创建测试or生产环境仓库
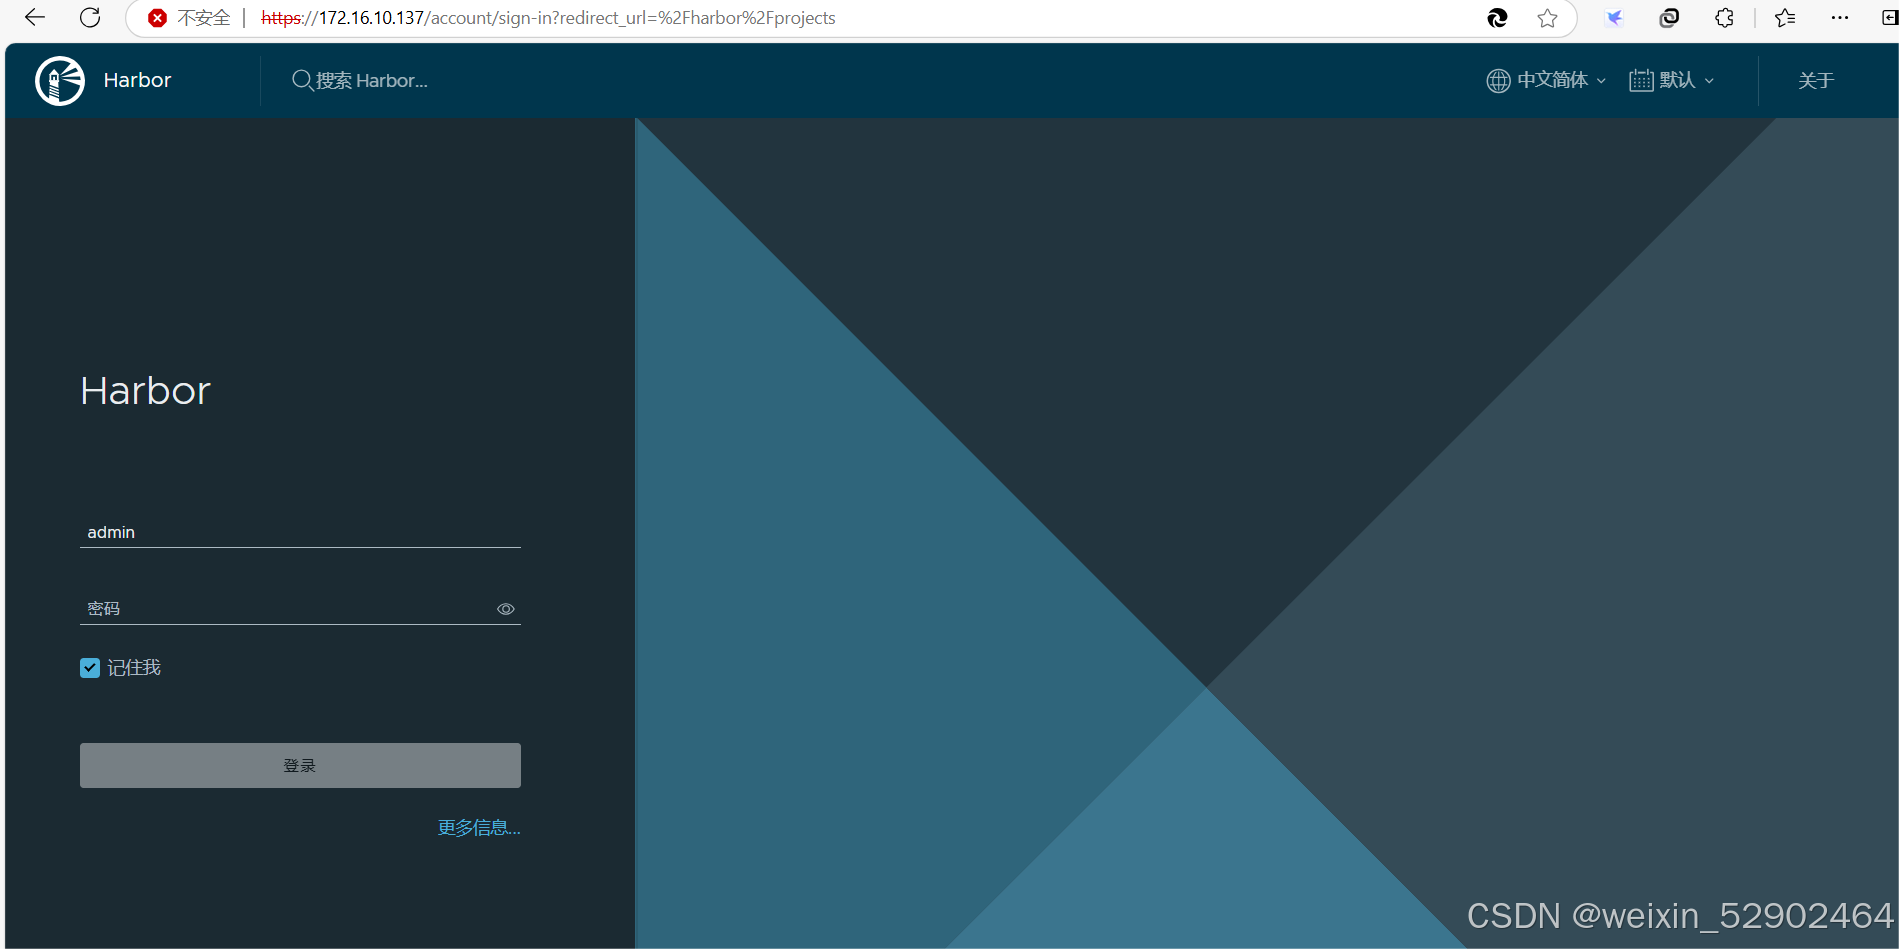
3.1 登录界面
#登录账密admin/Harbor12345
3.2 创建一个测试or学习仓库
#相关权限酌情放开,公开的话,可任意拉取镜像

4、docker登录harbor
#docker登录harbor
dockers login 172.16.10.137

#由于自签证书验证不通过,需要在/etc/docker/daemon.json添加Http登录,可在每台docker机器加此参数,否则不一定能过验证
cat /etc/docker/daemon.json

"insecure-registries": ["172.16.10.137"]


#重启docker
systemctl daemon-reload && systemctl restart docker

#再次登录即可成功
dockers login 172.16.10.137

5、推送私有镜像到仓库
#假设本地的centos镜像是最新的,其他镜像如nginx亦可

#注释
#centos:标签是最新可忽略,也可以centos:latest
#172.16.10.137:harbor的host地址
#study:上面创建的仓库路径
#v1:新定义的私有标签号

#拼装标签执行命令
docker tag centos 172.16.10.137/study/centos:v1

#推送镜像
docker push 172.16.10.137/study/centos:v1
#查看是否推送成功
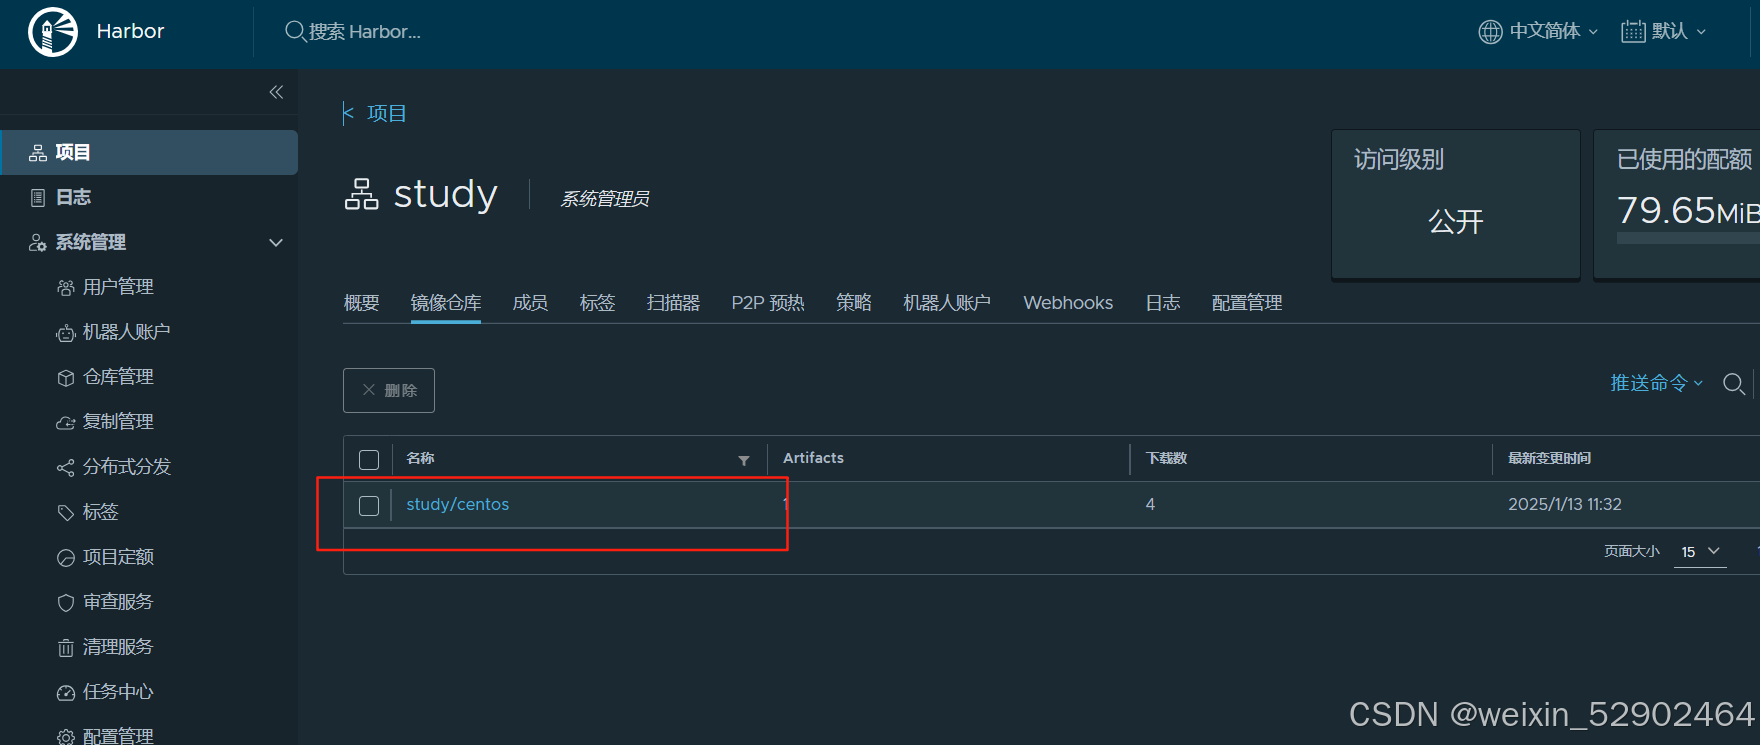
6、拉取私有镜像
#换一台目标机器,拉取镜像
docker pull 172.16.10.137/study/centos:v1


评论区